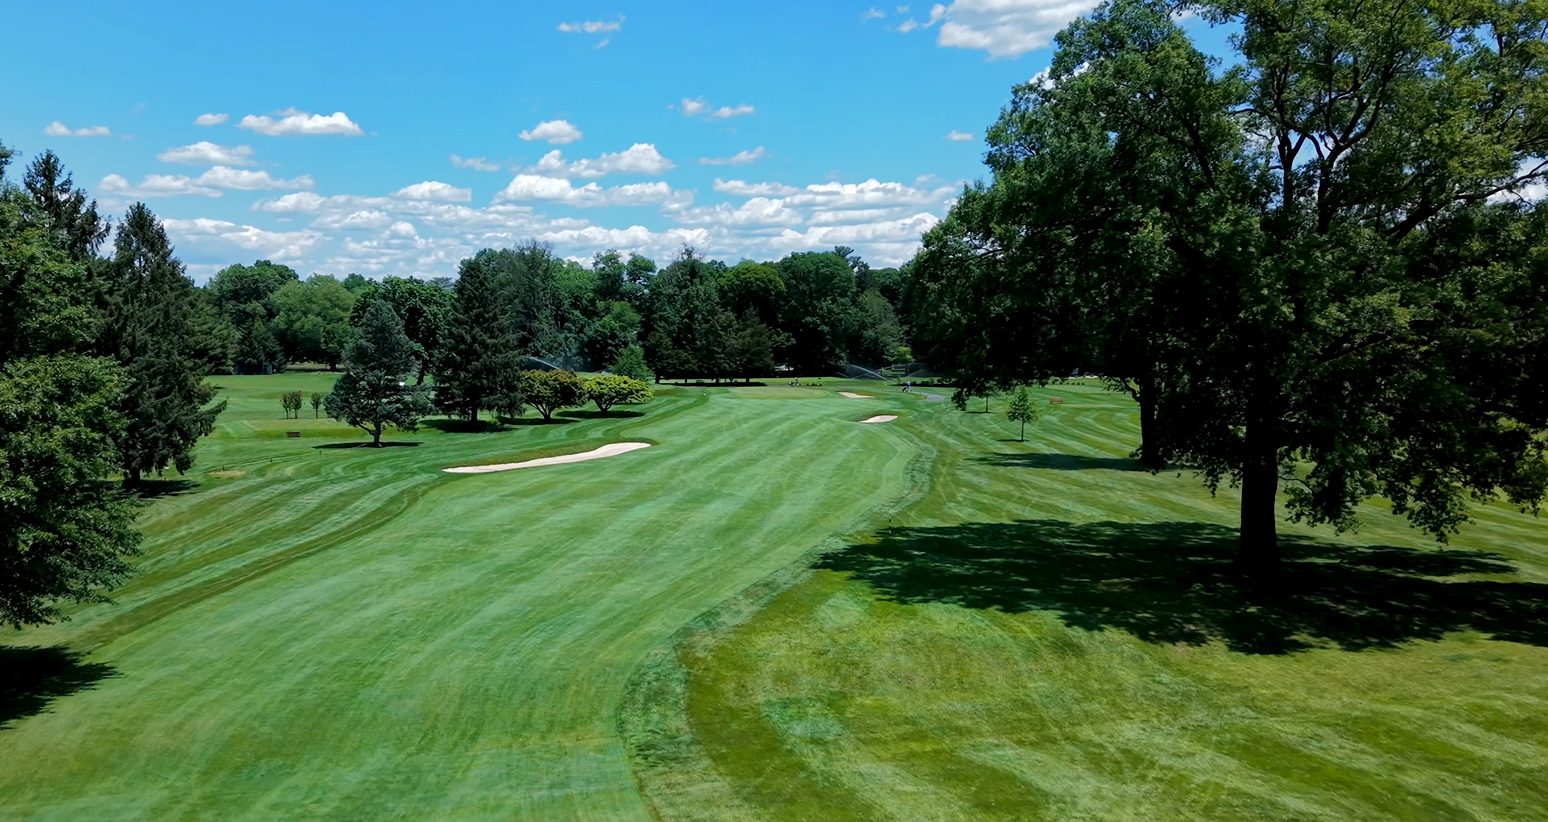
Hole 1 - Par 4 (316–322 yds)
A short but strategic opener. This dogleg right par 4 that plays around a large oak tree guarding the right side. Fairway bunkers protect both the left and right landing areas, demanding accuracy off the tee. The green, which appears relatively flat at first glance, features subtle slopes from front to back and left to right. It is well protected by bunkers on the right and beyond, while a deep grass hollow to the left separates it from the seventh green.
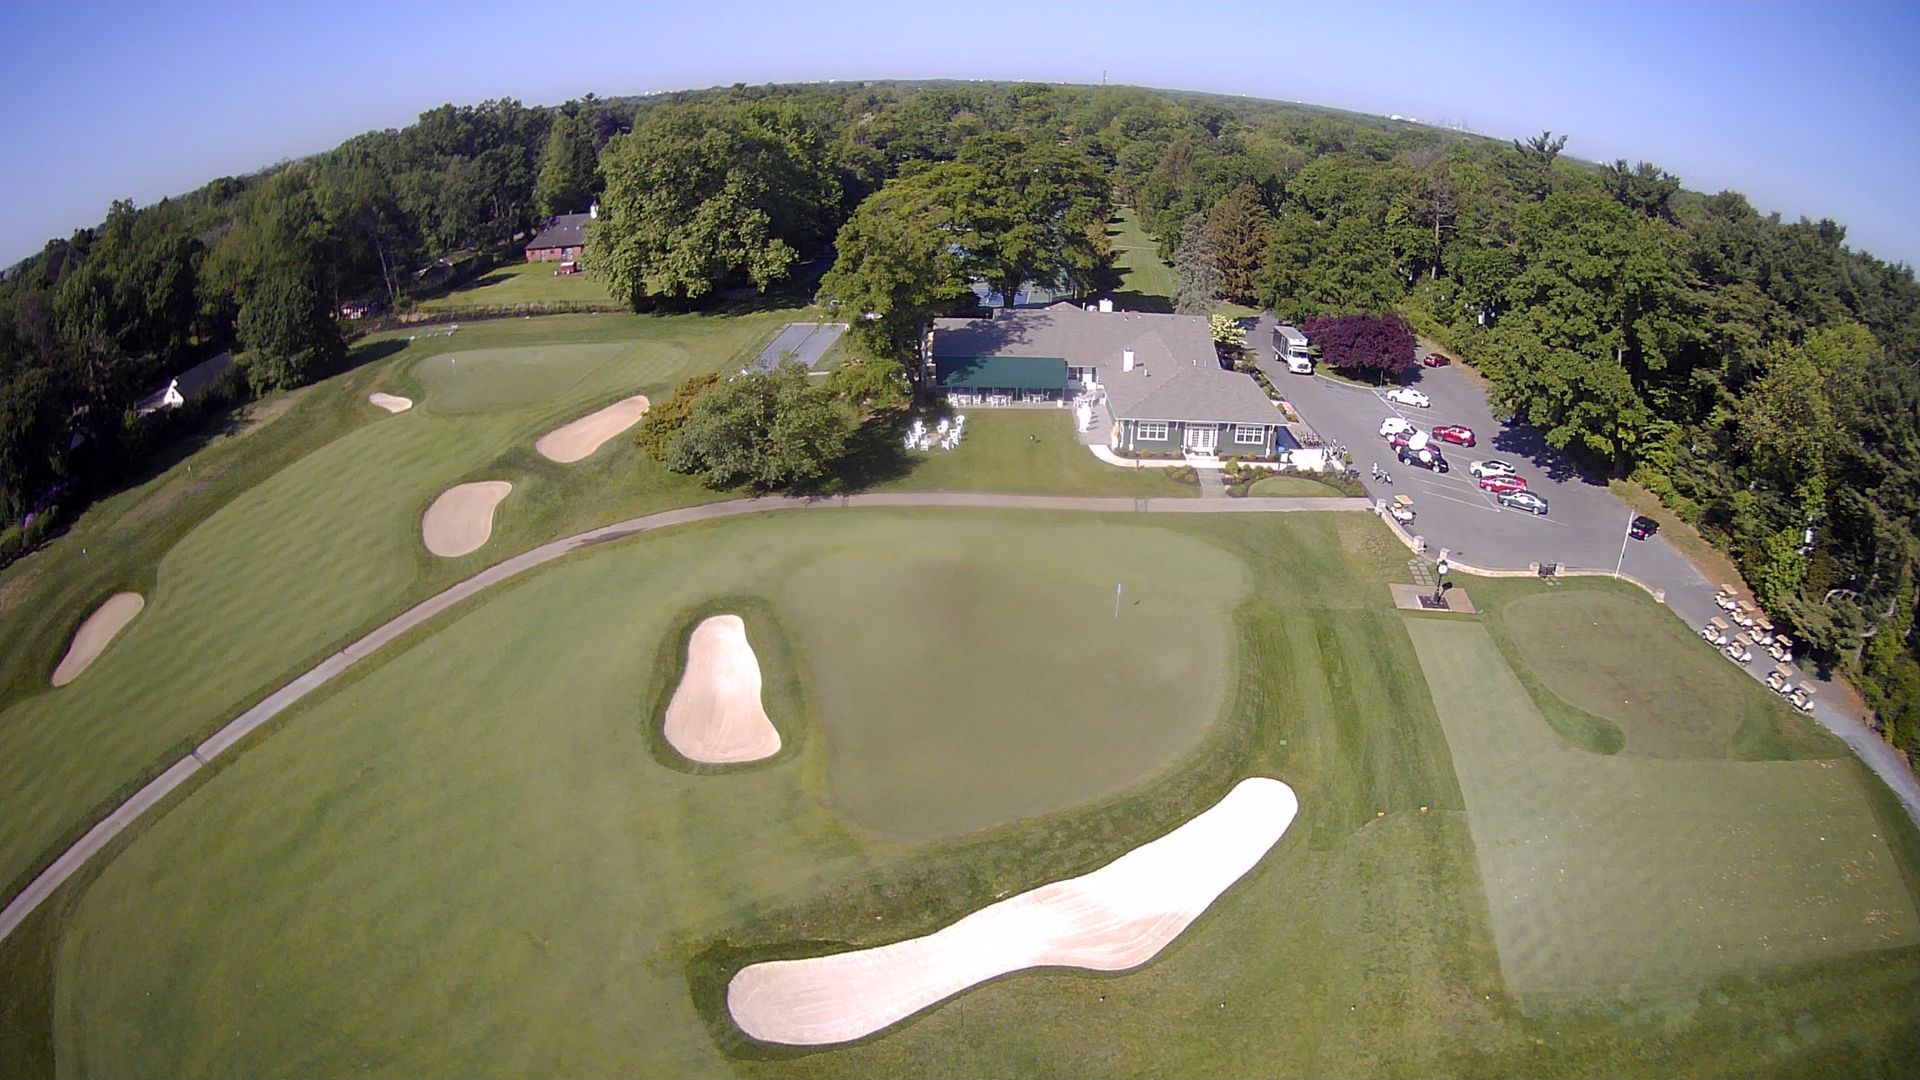
Hole 2 – Par 4 (310–312 yds)
Another short par-4 that plays slightly uphill. The fairway is generous, but errant drives can leave awkward second shots. Take advantage of the drive to leave yourself a comfortable approach to a green guarded by subtle contours.
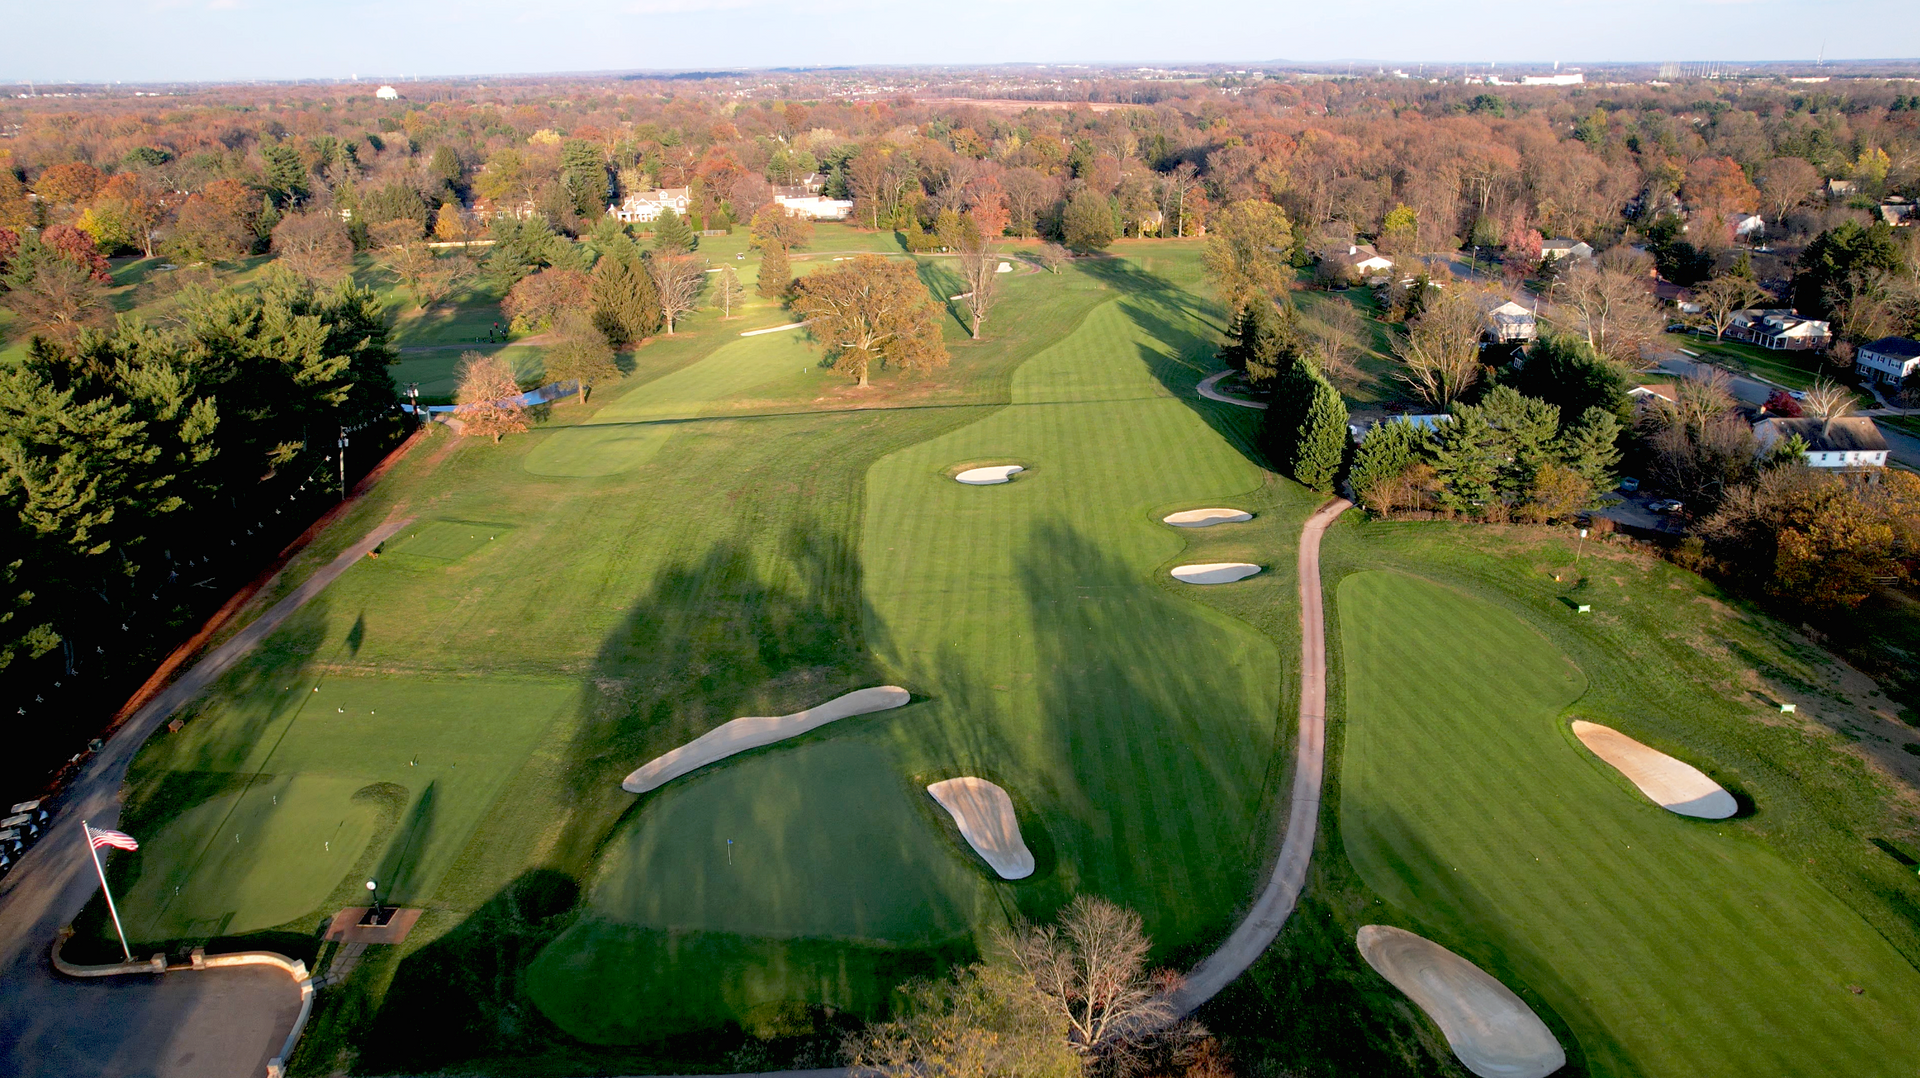
Hole 3 - Par 4 (319–370 yds)
The first real test: longer than the opening holes and typically a tougher scoring challenge. Length off the tee is rewarded; positioning is key to hitting the green in regulation. Club selection into the green matters here.
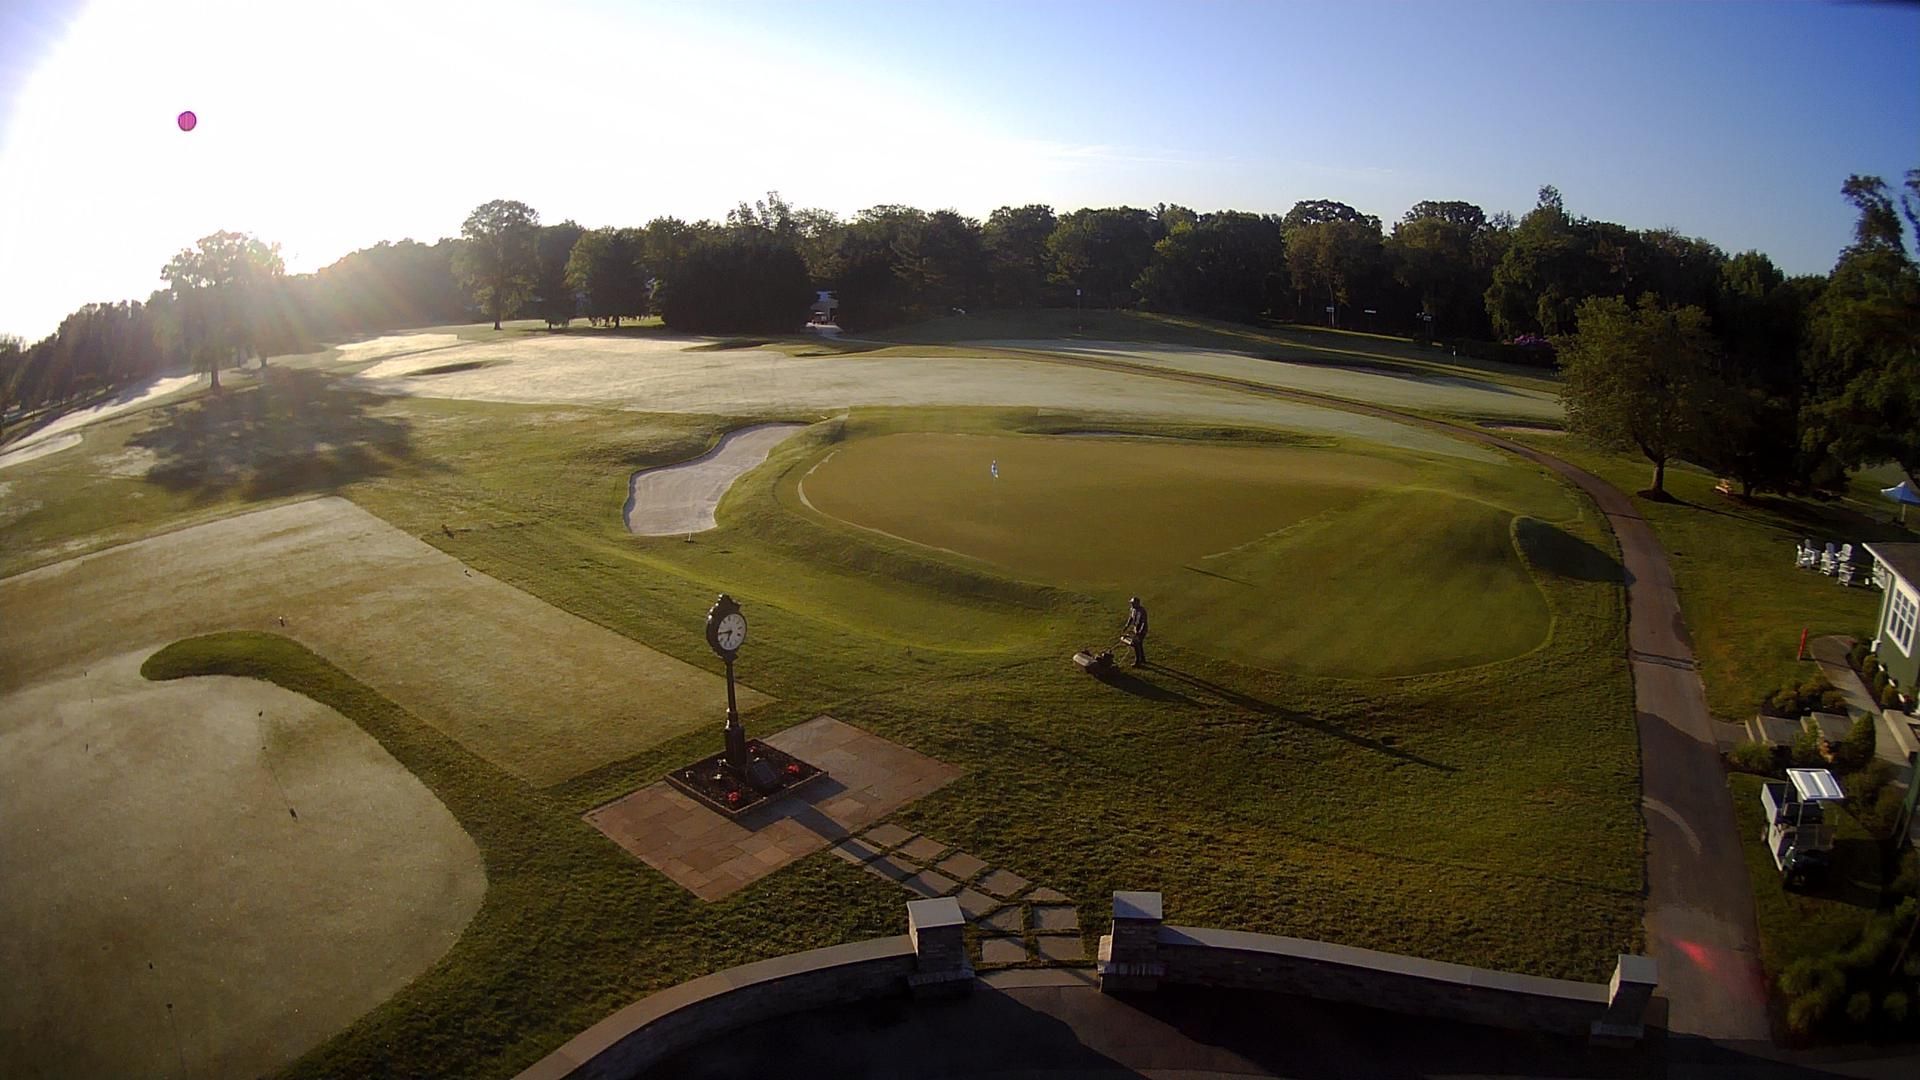
Hole 4 – Par 3 (135–150 yds)
A classic short par-3 that looks simple on paper but can bite if you misjudge the wind or leave your tee shot short. The green is firm and narrow, demanding a precise iron or hybrid to score well.
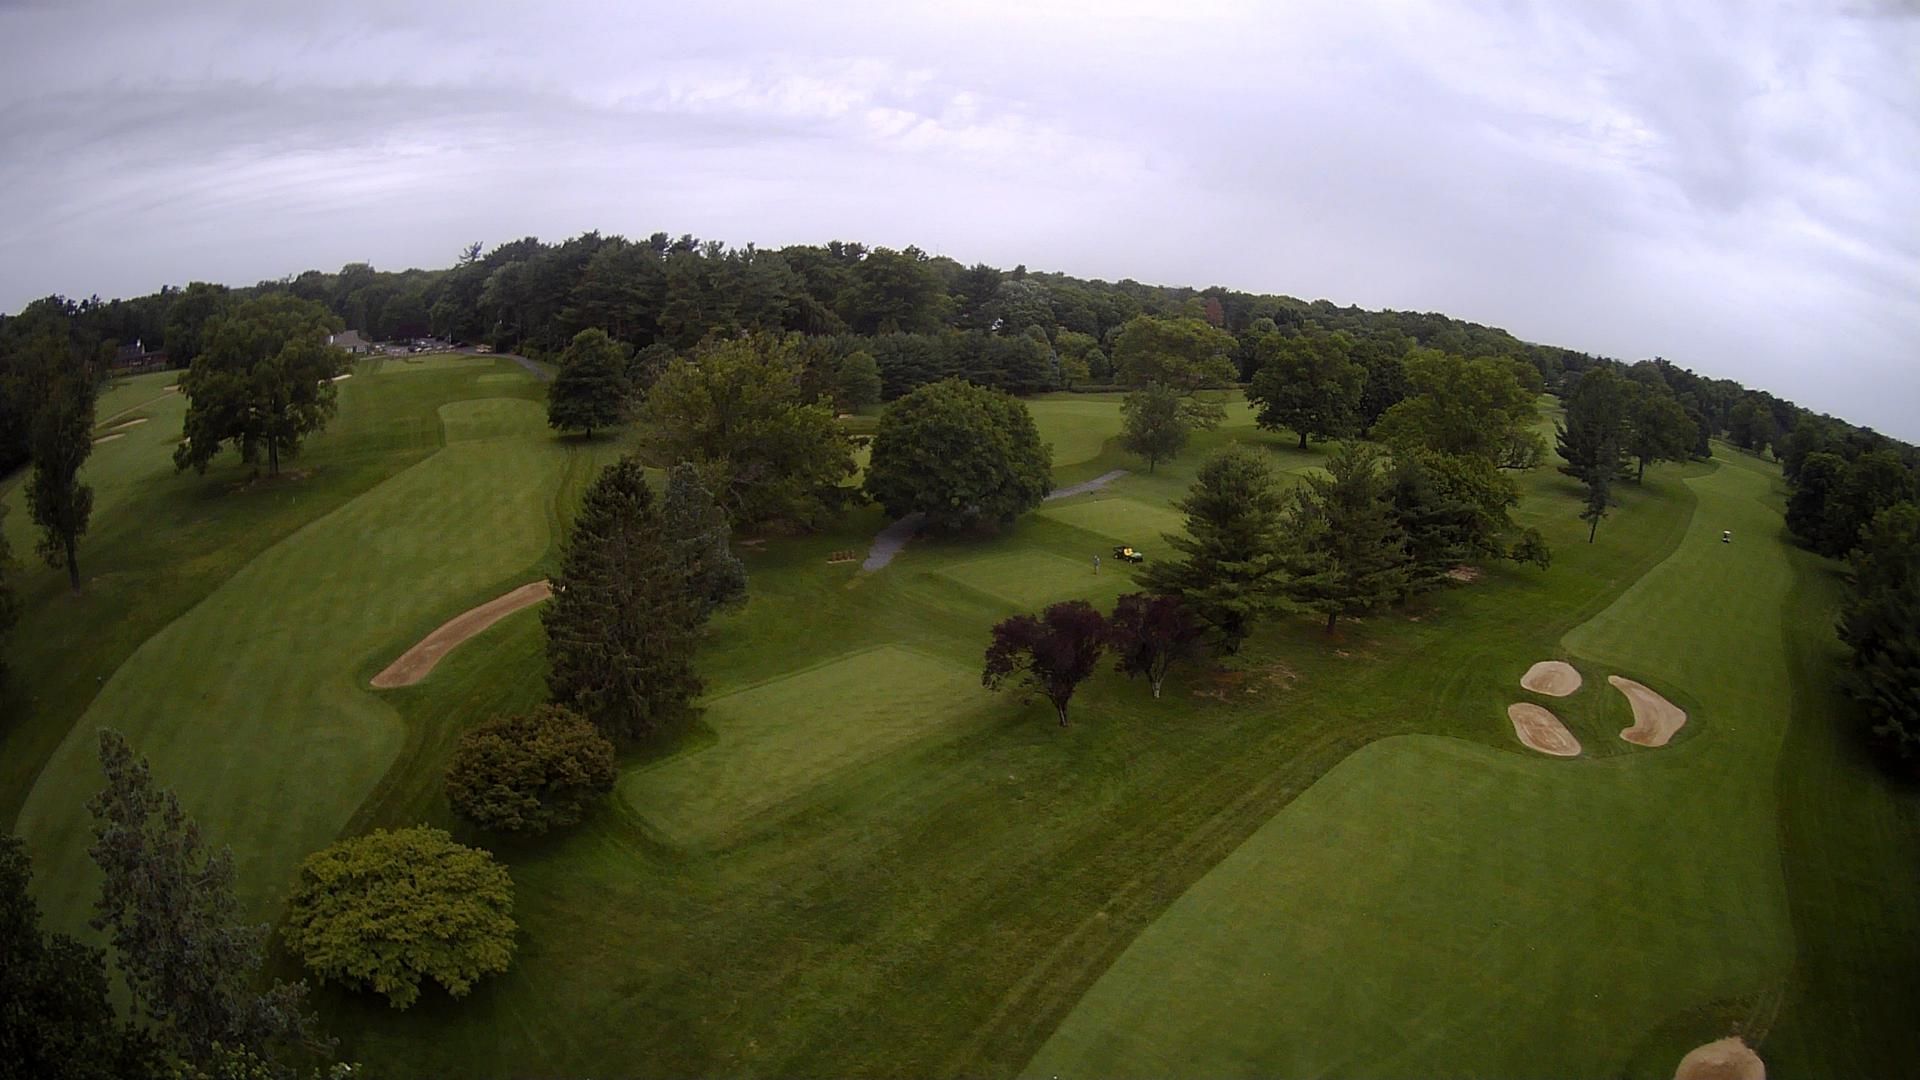
Hole 5 – Par 4 or 5 (401–462 yds)
Depending on tee selection this can be a long par-4 or a reachable par-5 for longer hitters. A well-placed drive sets up a second shot that must navigate strategically placed bunkers and contouring fairway areas to get closer to the elevated green.
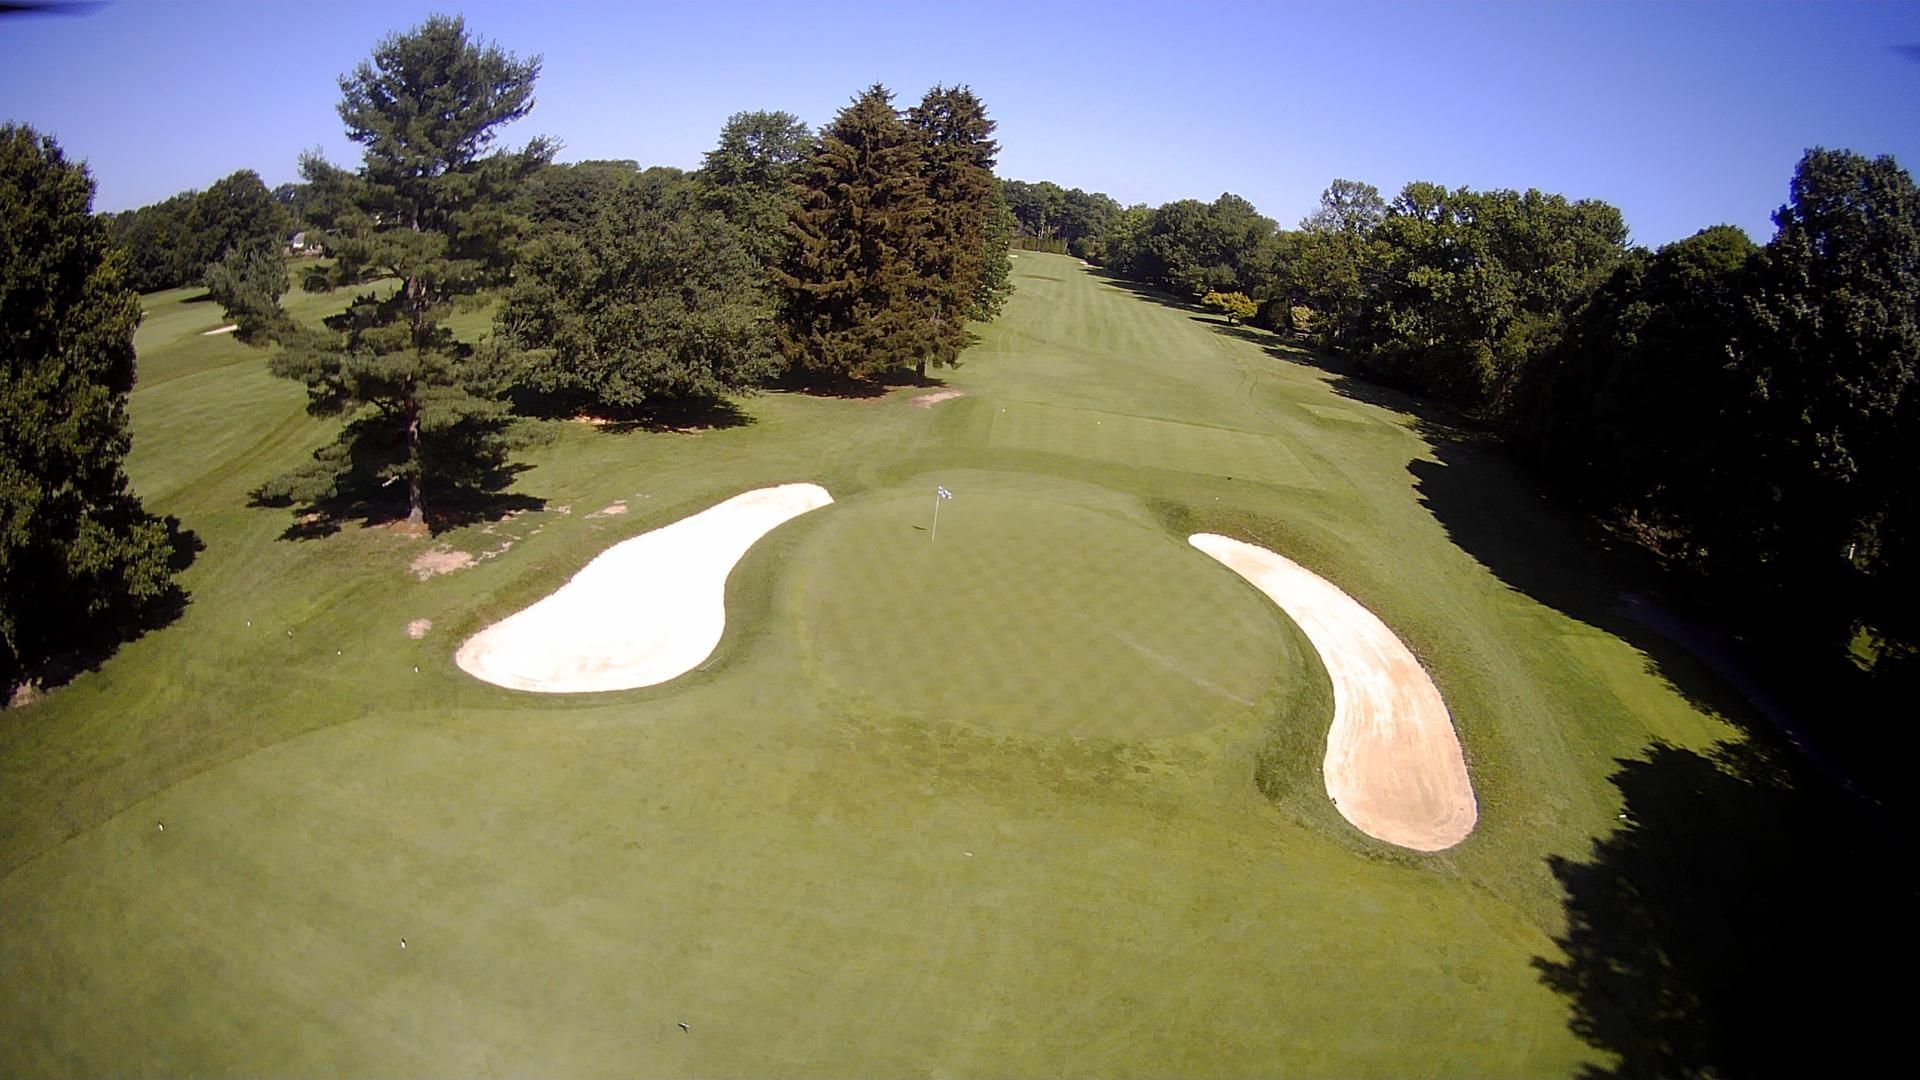
Hole 6 – Par 4 or 5 (412–480 yds)
A demanding hole where accuracy and length both matters. The tee shot should favor the wider part of the fairway to allow a confident second. Depending on tees, this can play as a long par-4 or short par-5 — either way, a strong approach is needed to avoid trouble around the green.
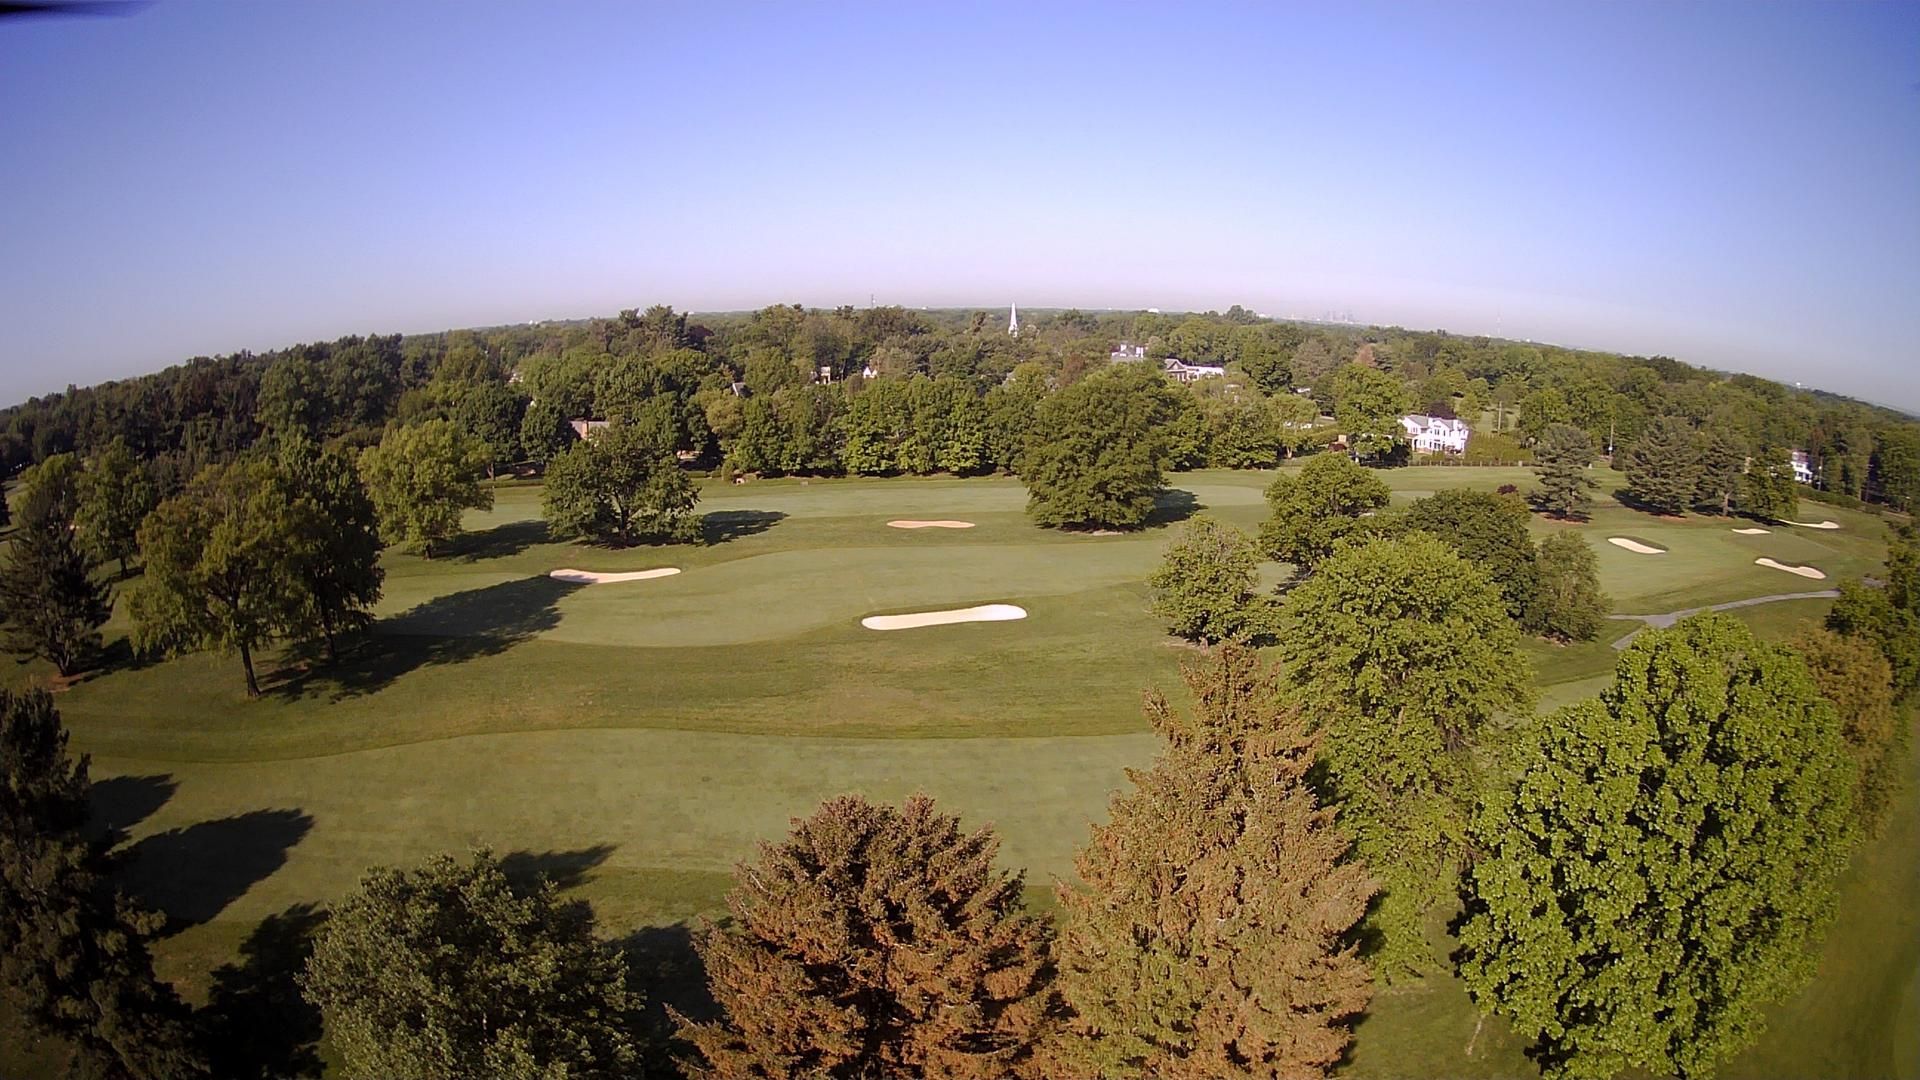
Hole 7 – Par 5 (519–550 yds)
The longest hole on the front 9 and a true par-5 where big hitters can go for it in two. However, hazards and well-placed bunkers protect the green complex — so an aggressive play must be balanced with smart course management.
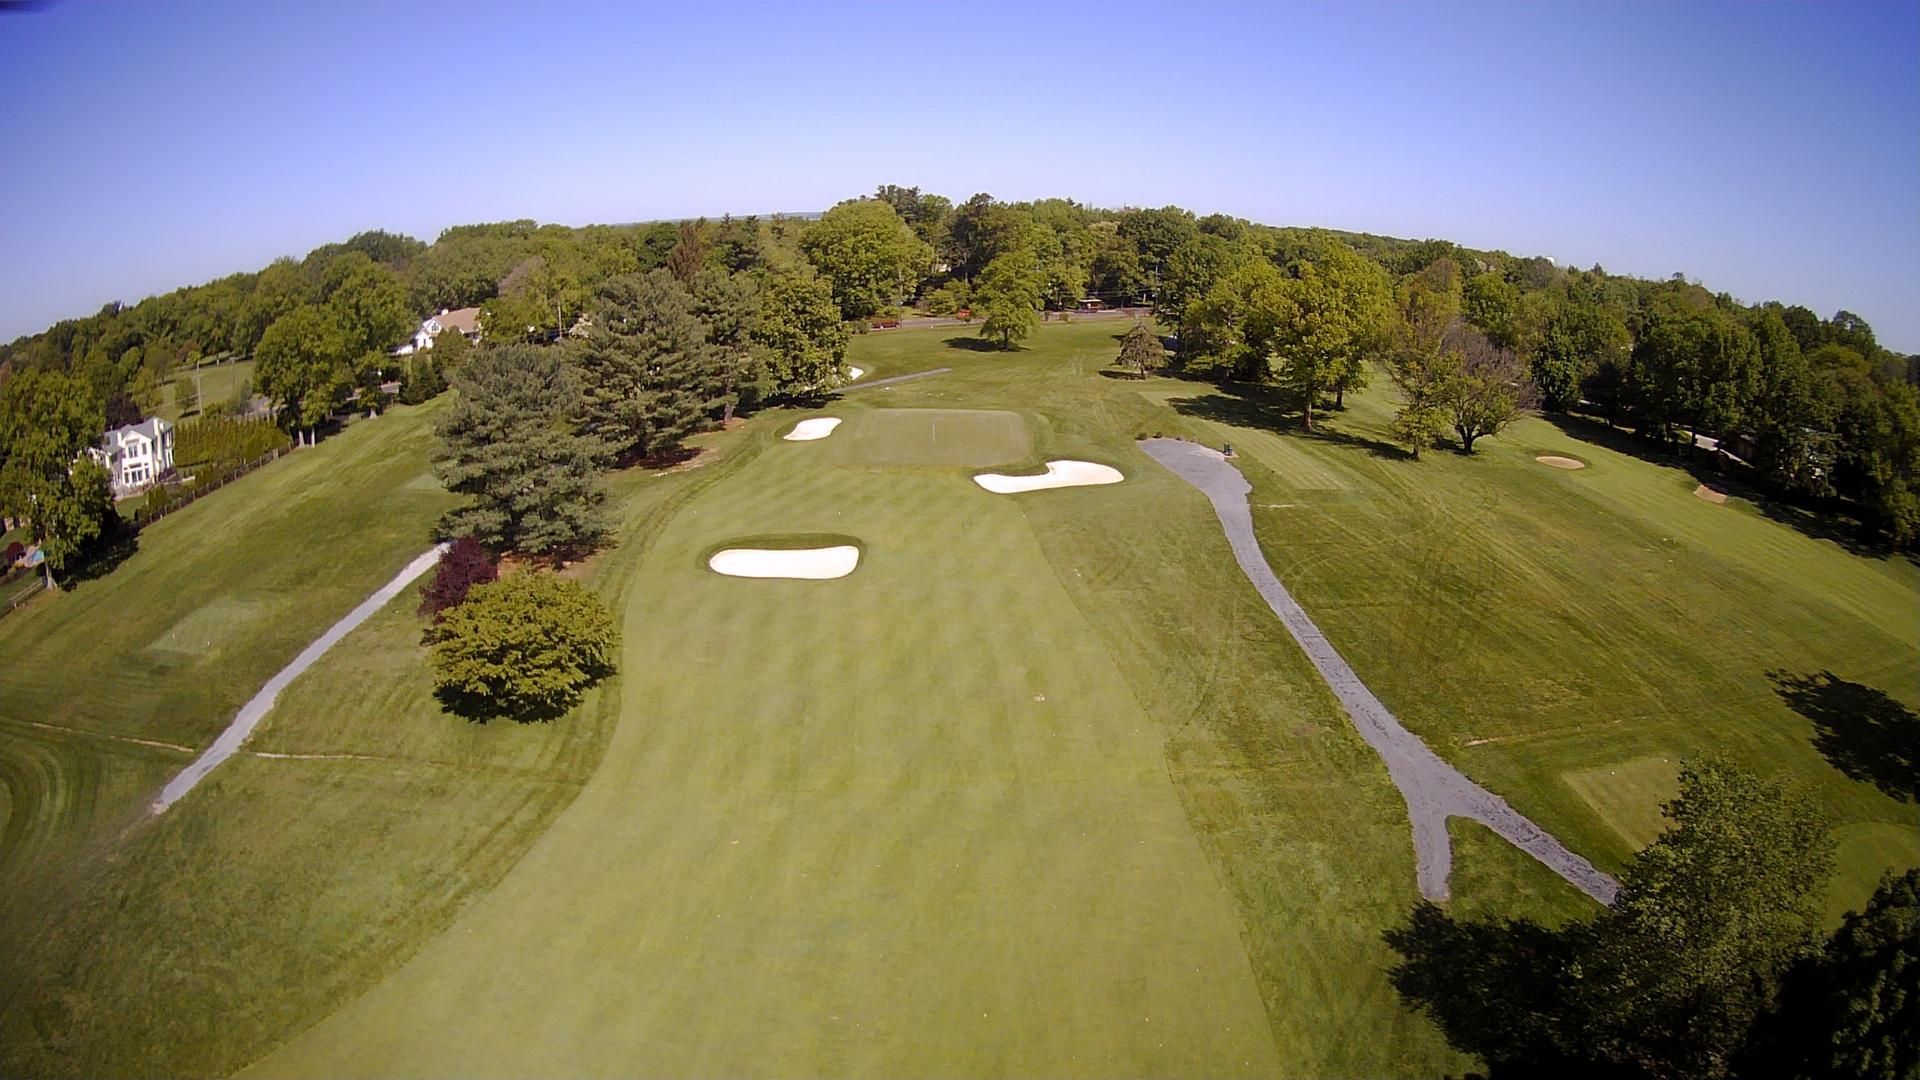
Hole 8 – Par 3 (116–143 yds)
A mid-length par-3 that may look friendly but has some trouble around the green. Wind and green slopes make club selection important; missing long or short can leave tricky up-and-downs.
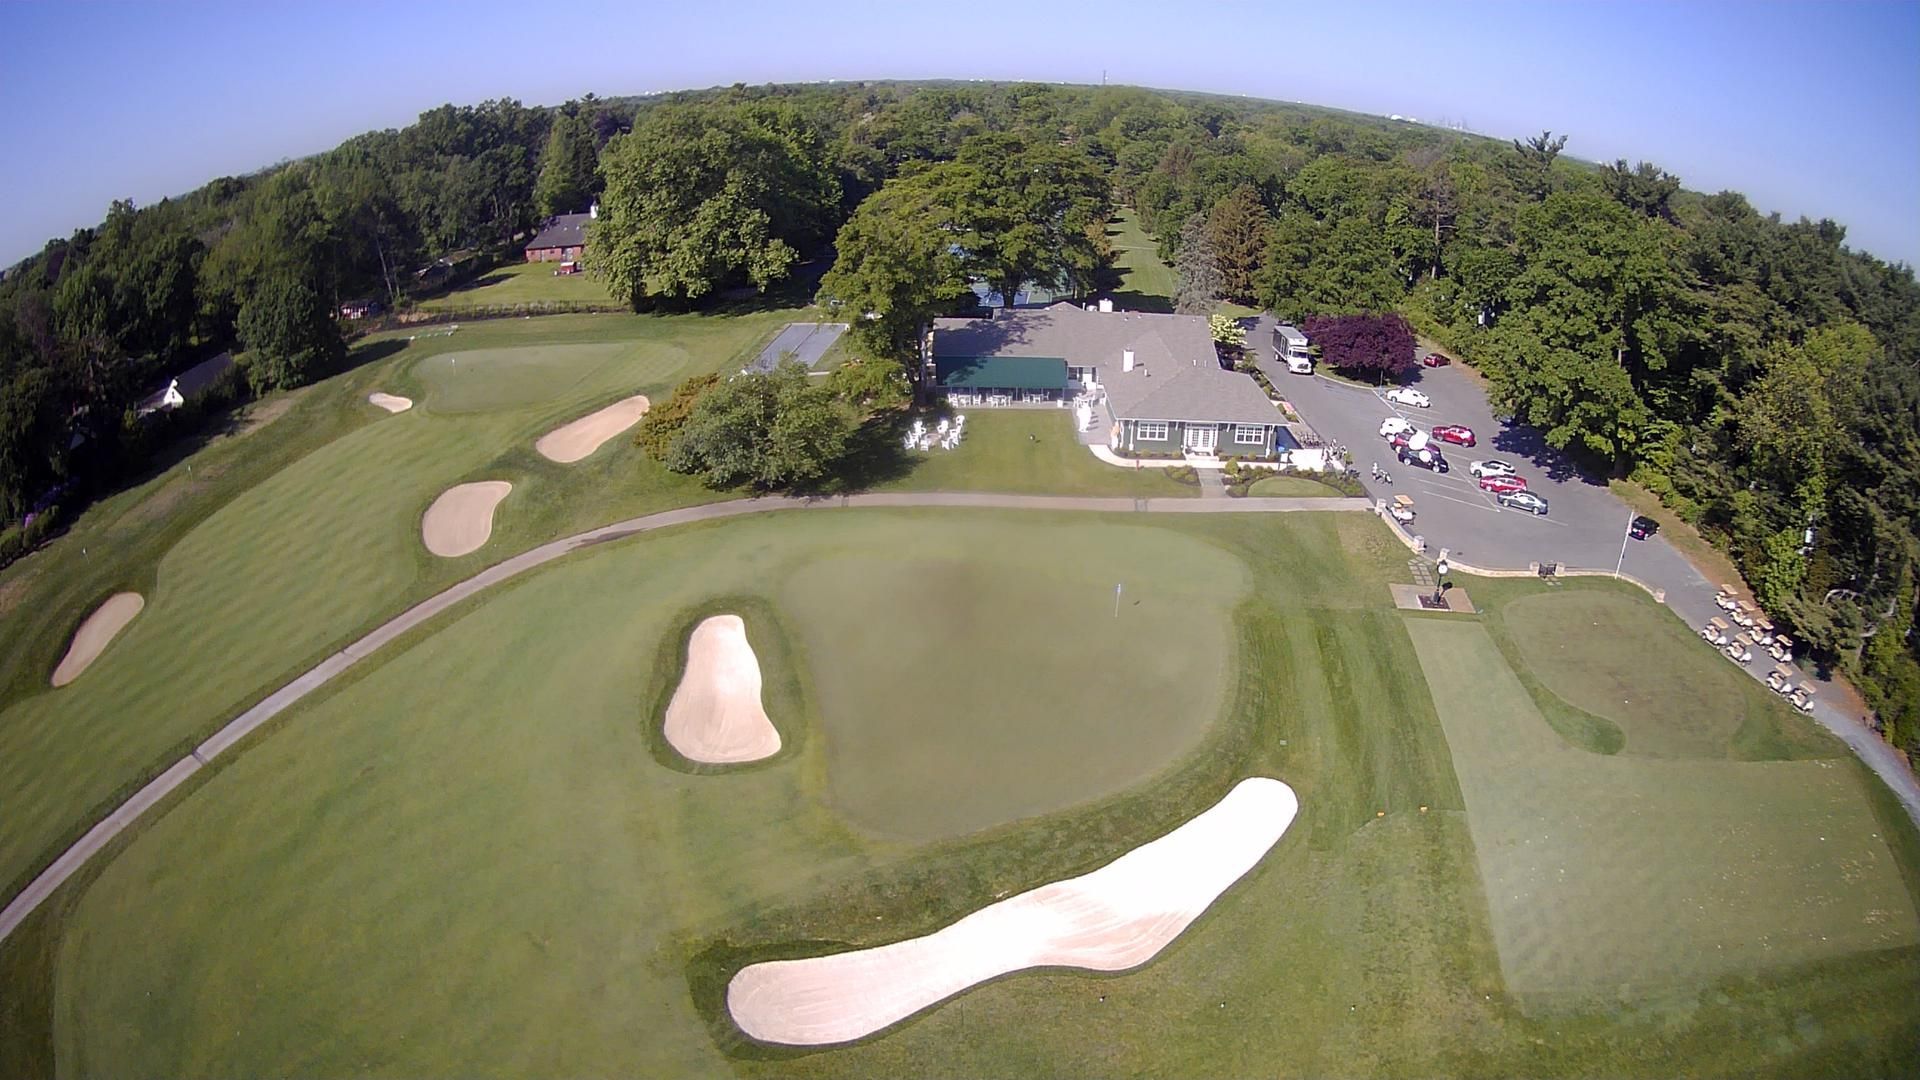
Hole 9 – Par 4 (345–385 yds)
The finishing hole of the front 9 tests consistency. A well-placed tee shot in the fairway opens up the second shot to a slightly elevated green. Accuracy into the green is crucial — a good par here sets you up nicely for the loop or turn.